USER
- 1. INTRODUCTION
2. CREATE NEW USER
3. EDIT USER
4. DELETE USER
1. INTRODUCTION
This part is where User Admin can assign the users that have the right to access the system within their roles. Users are those who can have their own Username and Password to log into the system and access certain data to obtain any information on the company. User Admin and Power User have the right to control the user by creating new user, editing and also to delete the user. Other settings that can be controlled including to set the authorized company and role associated to each user. User that is set as ‘Power User’ can assign and control another user permissions as the Admin User. Each user may has different roles and access limits to the system. All the settings are explained in this section.
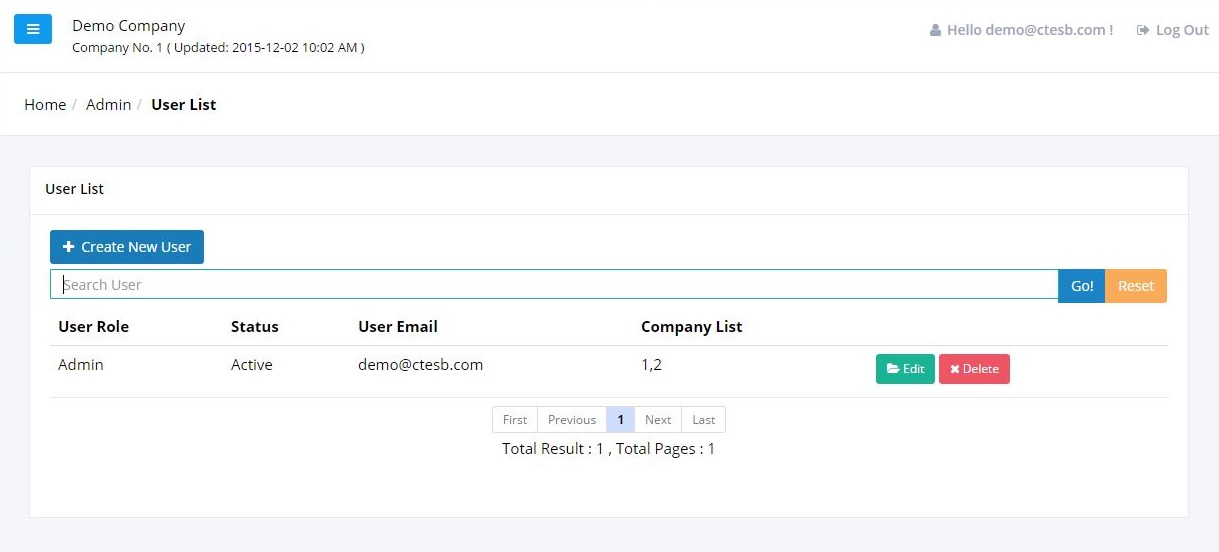
2. CREATE NEW USER

To create a new user, just simply click on the ‘Create New User’ button. Clicking the button will lead user to the next screen
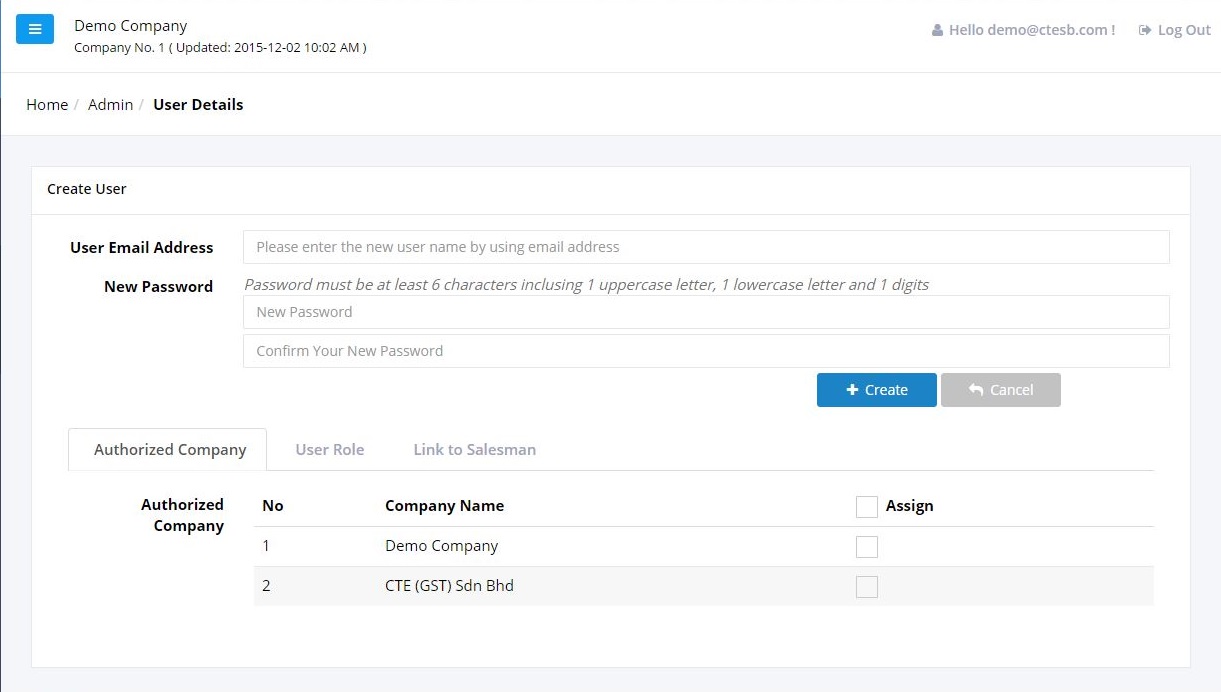
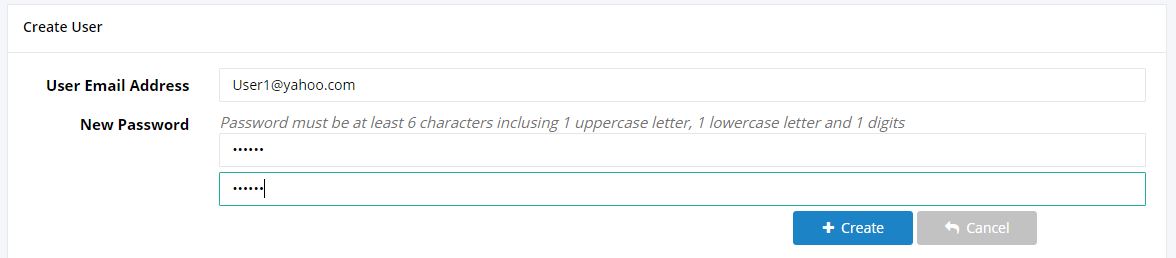
Here, user admin can simply fill in the ‘User Email Address’ and the ‘password’. The password must be at least 6 characters including 1 uppercase letter, 1 lowercase letter and 1 digits.
Example password: Aa1234
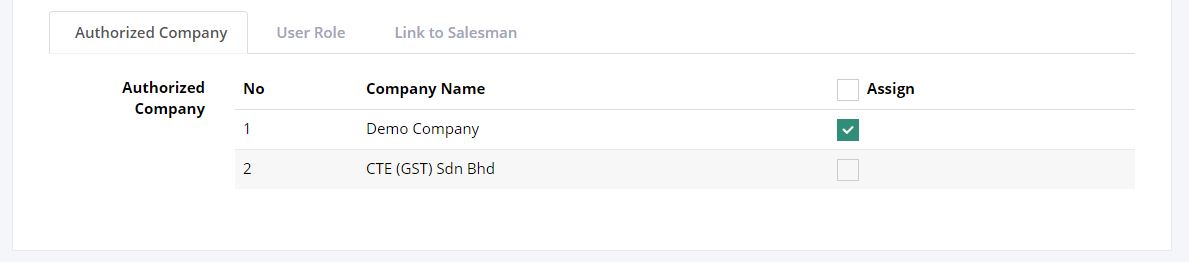
Then user admin can choose to tick on the Authorized Company, User Role, and Link to Salesman for the new user.
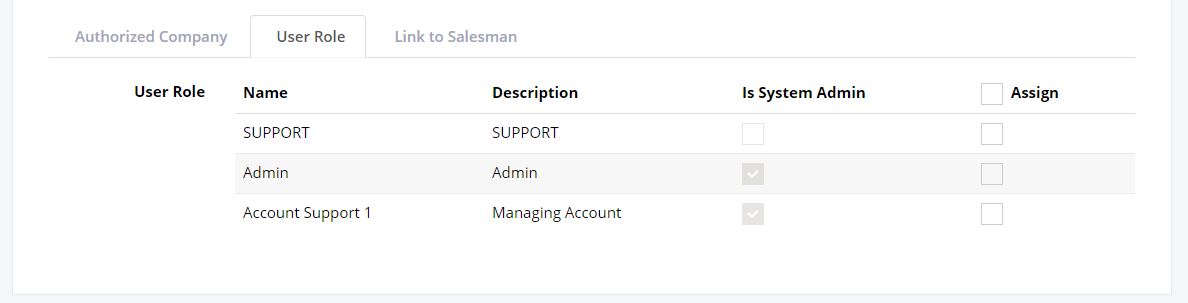
User admin can tick a role for the new user, for example assign the new user under ‘Account Support 1’.

If User Admin tick on this, the new user will only be allowed to access to his/her own debtor and salesman list.
After done ticking the required fields. User Admin can create the new user by clicking on ‘Create’ button.

The message will be displayed to inform you that the User has been successfully created as below.

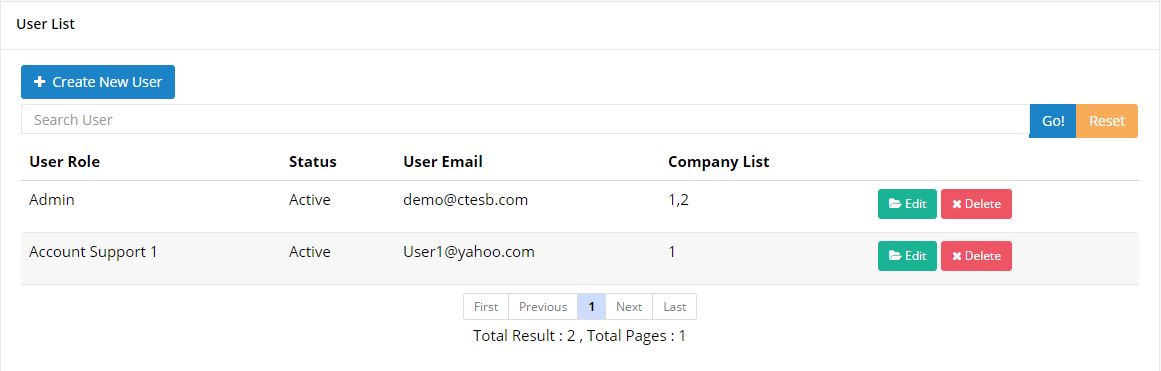
The new user is now displayed in the ‘User List’ screen as below:
3. EDIT USER
Created user also can be edited by clicking on the ‘Edit’ button.

Clicking on the ‘Edit’ will lead user to this screen:
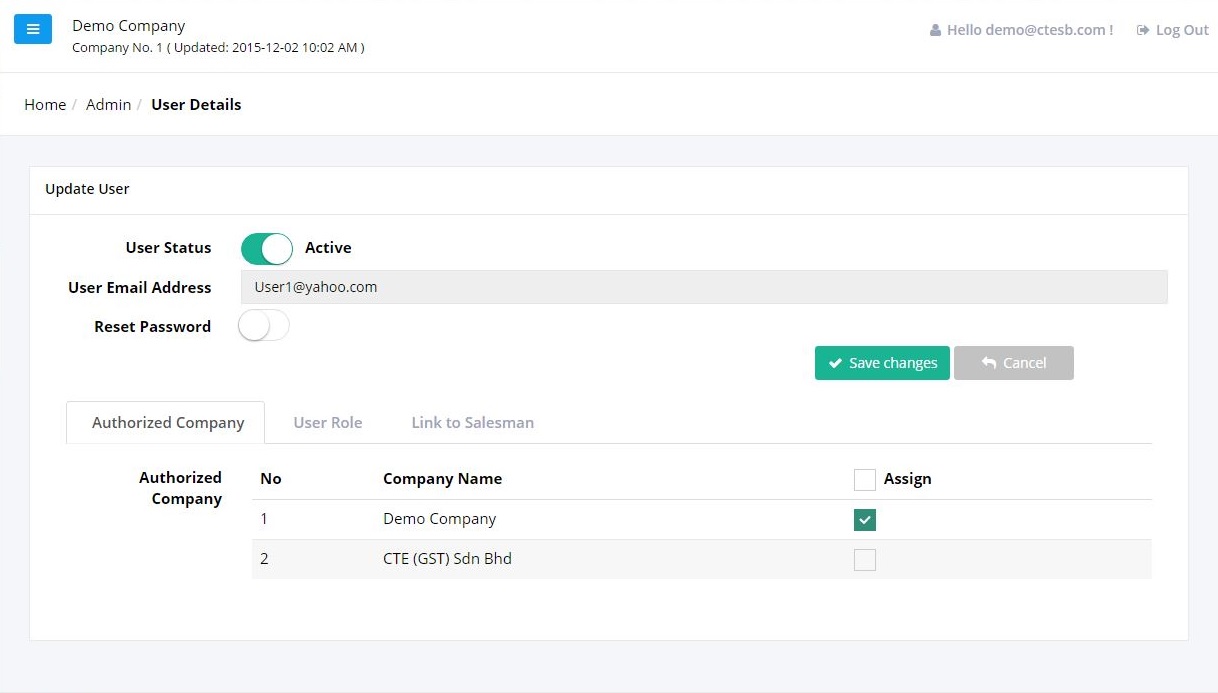
User admin can edit all the details, or tick/untick the required fields.
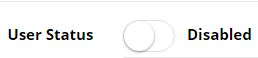
The user can also be disabled by clicking on the user status as below.
To change the password, User can click on the ‘Reset Password’ and set up a new password.

Then click on the ‘Save Changes’ button to save the edited details.

4. DELETE USER

User Admin can click on ‘Delete’ button to delete the created user. The confirmation message will pop out as below:
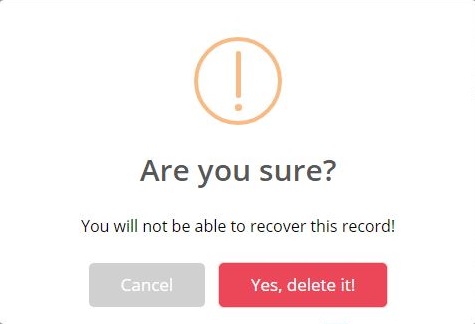
Click on ‘Yes, delete it!’ and the message will display as you successfully delete the user.
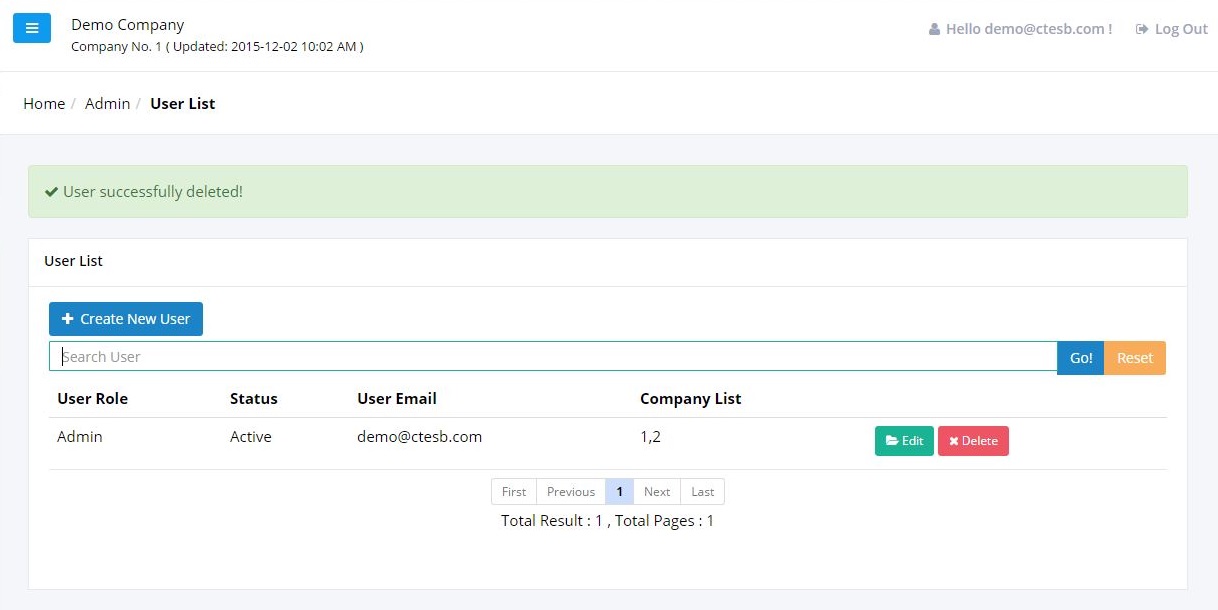
It can be seen from the screen that the user has been removed from the ‘User List’.