ROLES
1. INTRODUCTION
2. CREATE NEW ROLE
3. PERMISSIONS ASSOCIATED
4. EDIT ROLE
5. DELETE ROLE
- 1. INTRODUCTION
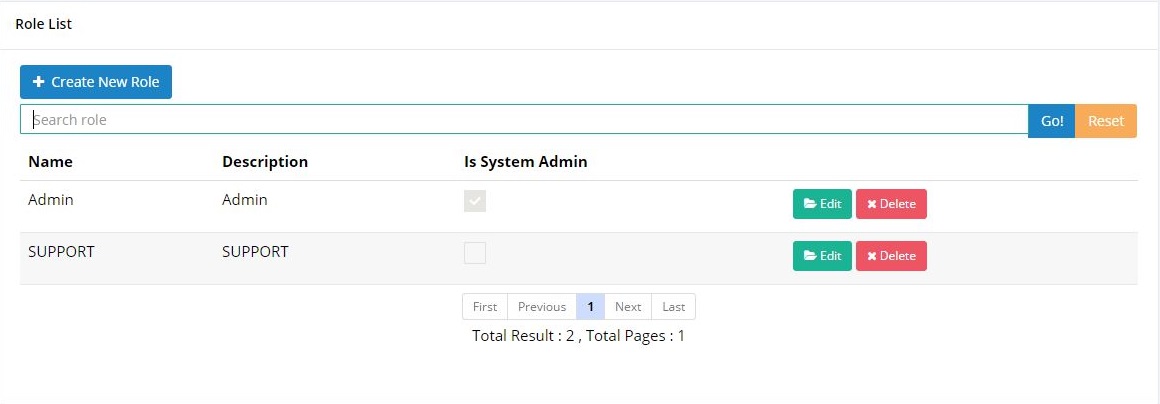
Role is the part that can be described here as the position that will be assigned to each user in the system. Each role may only have access on the data and information that are limited to its own department and the role access limit is fully controlled by the Admin User. . Role can be created, edited and deleted anytime by the Admin User and the Power User. Different roles may have different permissions on accessing the company’s data and information in the system. Admin user can create the role and set the permissions that are associated within their function Admin User can also set any role as ‘Power User’ that allow the user to access overall company data. All the settings are explained in this section.
2. CREATE NEW ROLE

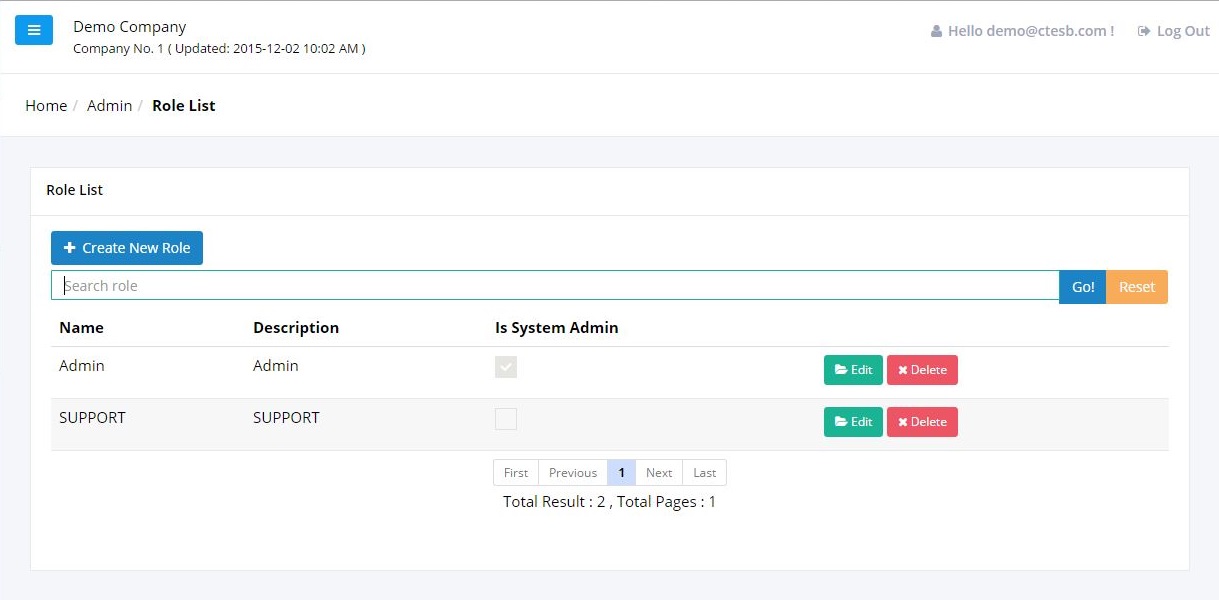
To create a new role, just simply click on the ‘Create New Role’ button. Clicking the button will lead user to the next screen
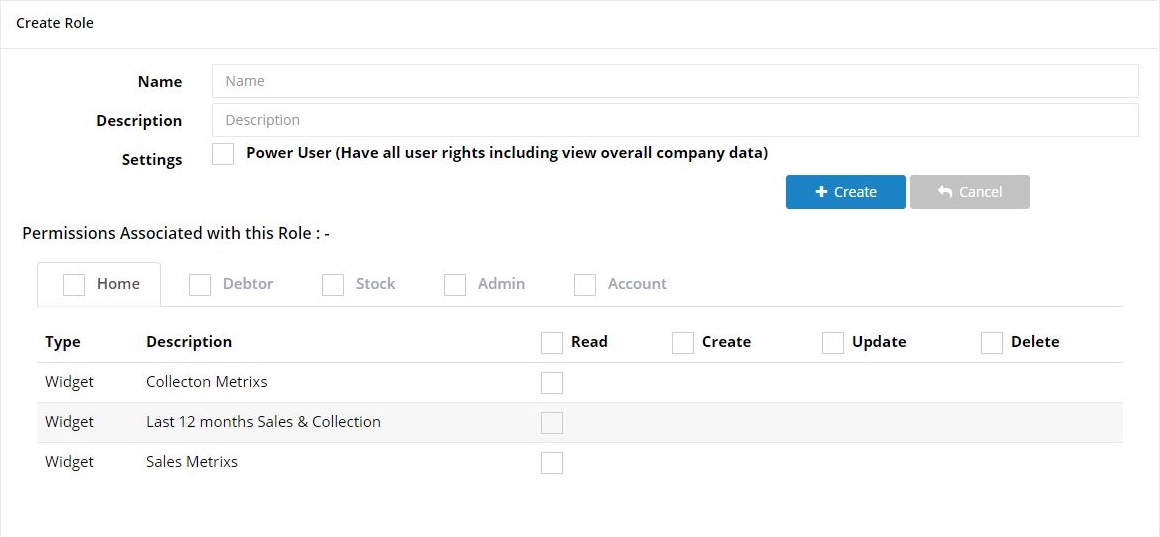

Here, user admin can fill in the Name and Description for the role as example above.
The settings box for ‘Power User’ is purposely created to allow the User Admin to give fully access on overall company data for the selected users. This box is a quick setting for those users who entitled to have the fully access to the overall company data and information. As User Admin ticks this box, the system will auto-select the required permissions for the Power User.
3. PERMISSIONS ASSOCIATED
Here User Admin can tick on the permissions that associated with this role:
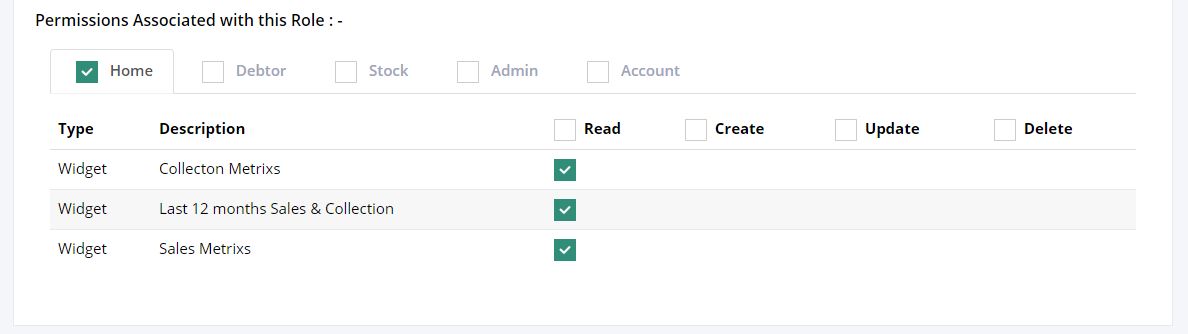
- Home:
Display the widget for the overall company’s performance on sales & collection.
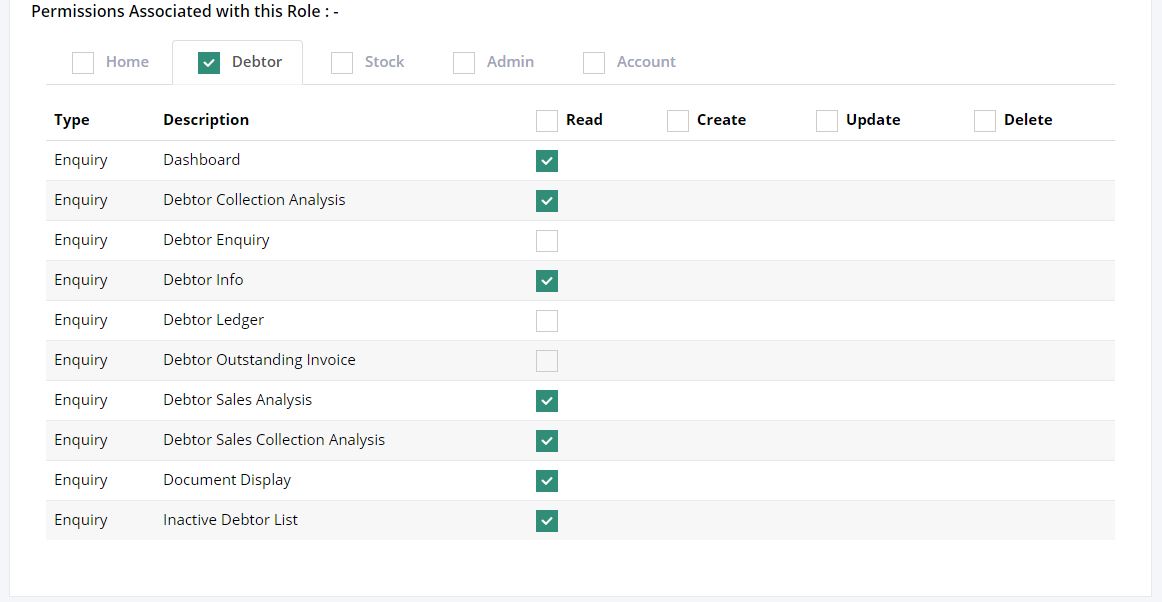
- Debtor:
All debtor’s data and information can be controlled here, User Admin can select any required enquiry that can be accessed by the user.
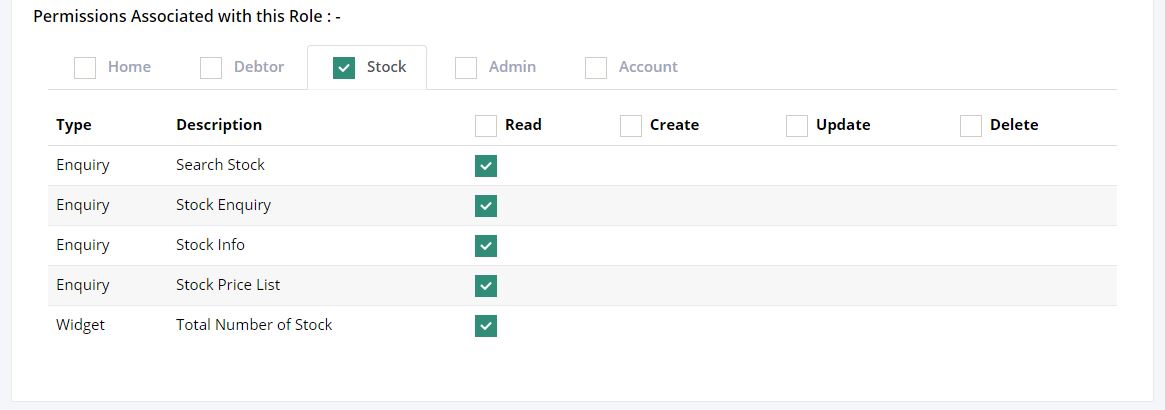
- Stock:
User Admin can allow or restrict the access to stock’s data and information depends on the users’ requirements.
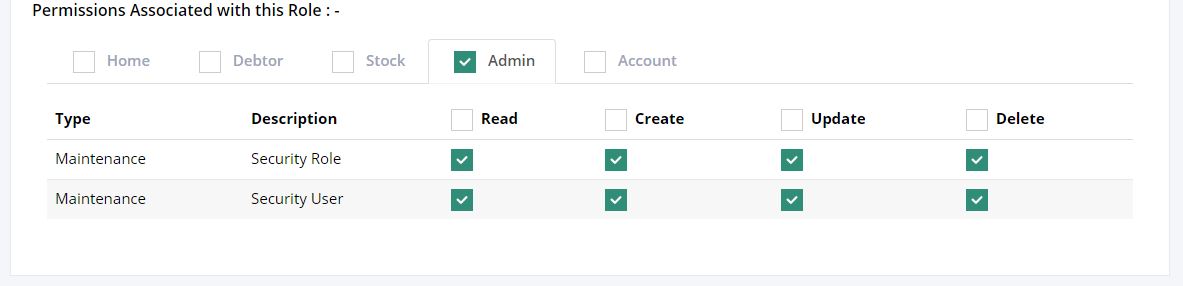
- Admin:
The setting for both user and role maintenance can be set up to 4 levels such as ‘Read, Create, Update, and Delete.’- Read: User is allowed to see the maintenance setting for both role and user but, is not allowed to add, edit and delete another user.
- Create: User is allowed to add a new user into the system.
- Update: User is allowed to edit the maintenance for existing users.
- Delete: User has the right to remove any created users from the system.
- Account:
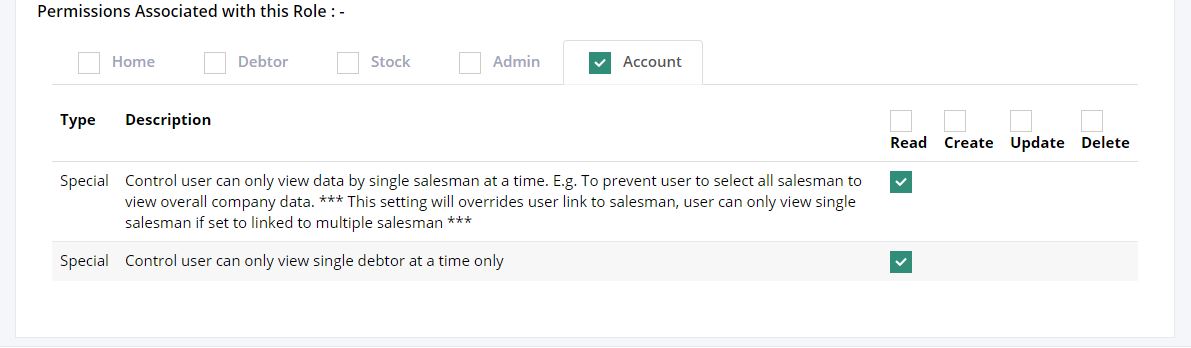
- Special single salesman at a time: Users are not allowed to select multiple salesman at a time. Example:
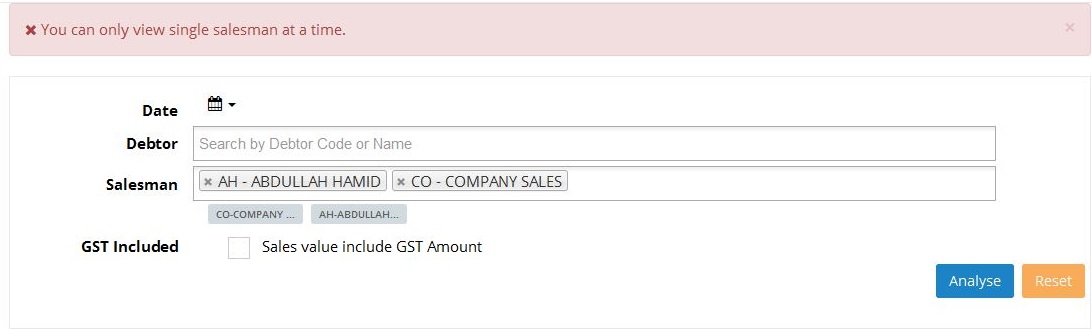
System would not allow user to view the data for multiple salesman.
- Special single debtor at a time: Users are not allowed to select multiple debtors at a time. Example:
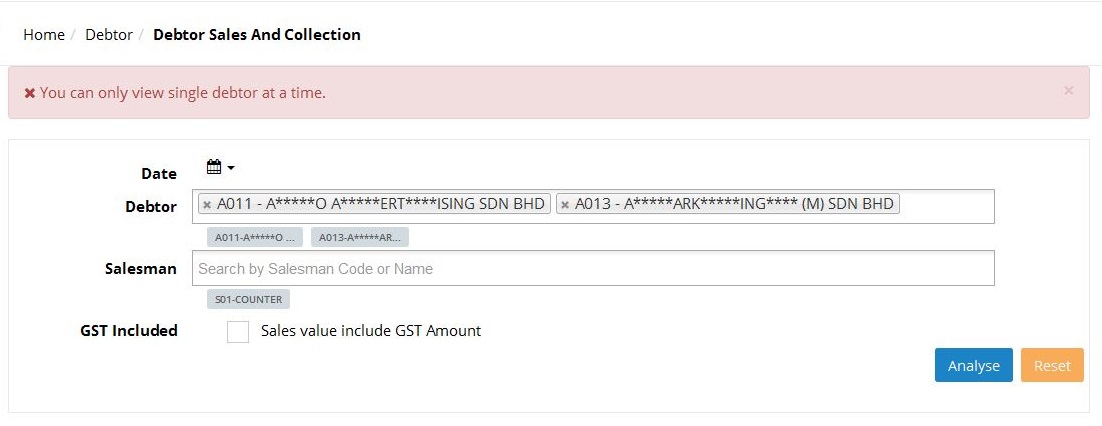 System would not allow user to view the data for multiple debtors.
After done selecting all the required permissions, User Admin can create the new role by clicking on ‘Create’ button.

The message will be displayed to inform you that the Role has been successfully created as below.

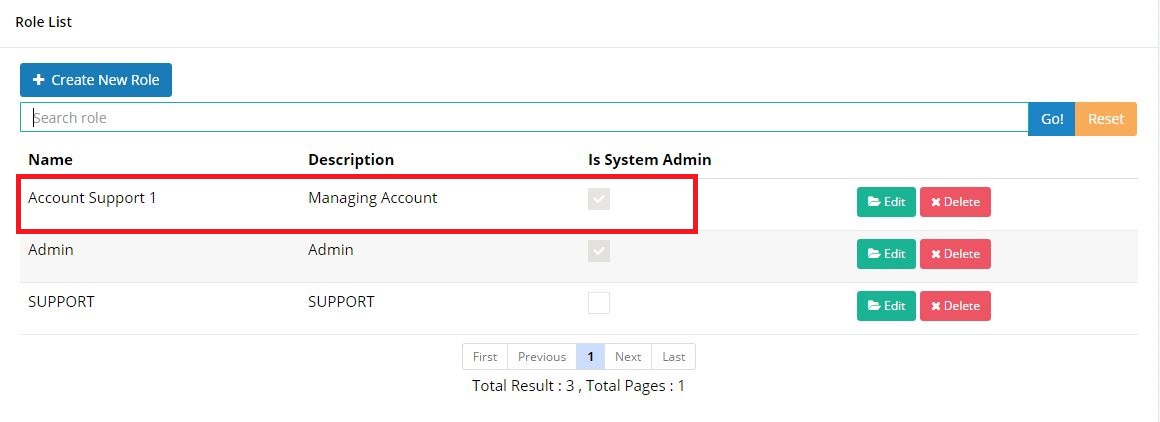
The new role is now displayed in the ‘Role List’ screen as below:
4. EDIT ROLE
User also can edit the created role by clicking on the ‘Edit’ button.

Clicking on the ‘Edit’ will lead user to this screen:
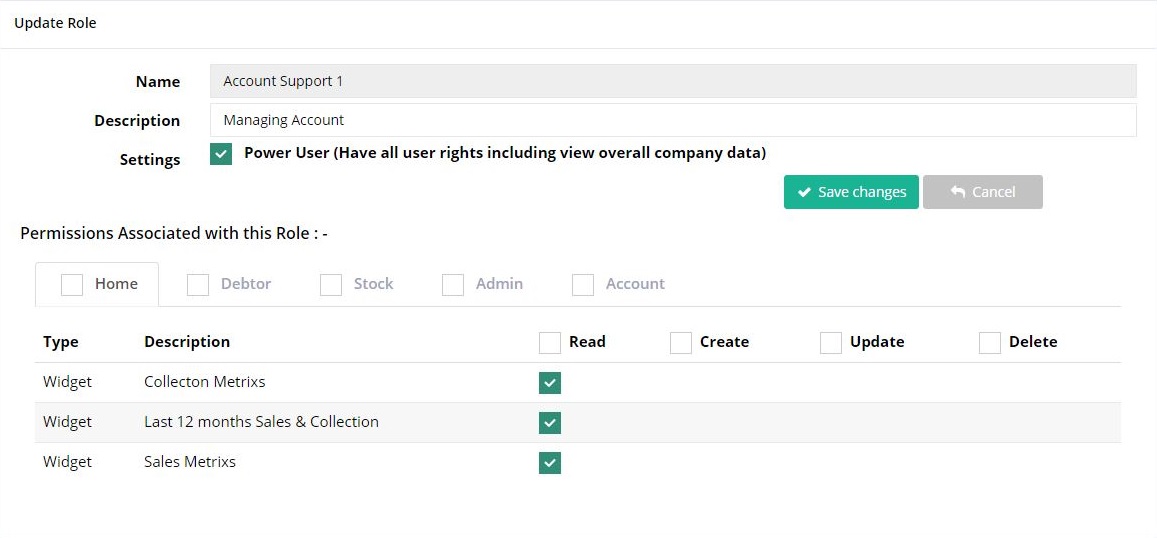
User admin can edit all the details, or tick/untick the permissions associated. Then click on the ‘Save Changes’ button to save the edited role.

5. DELETE ROLE

User Admin can click on ‘Delete’ button to delete the created role. The confirmation message will pop out as below:
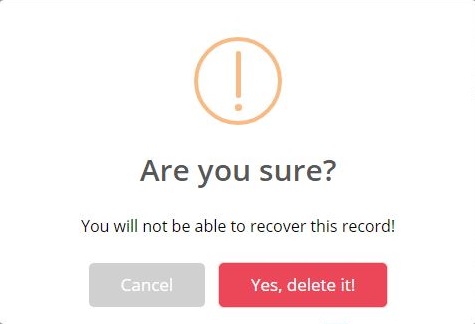
Click on ‘Yes, delete it!’ and the message will display as you successfully delete the role.
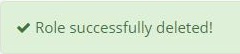
User can see that, Account Support has been removed from the ‘Role List’.